JS monorepos in prod 7: Continuous Integration and Continuous Deployment with GitHub Actions

The value of CI/CD lies in the ability to control and coordinate changes and feature addition in multiple, iterative releases while simultaneously having multiple services being actively developed in parallel. In the previous article of this series, we showed how to implement continuous integration using Travis CI. In this article, we illustrate how to achieve the same result using another continuous integration solution, GitHub Actions.
This article is part of a series relative to JS monorepos best practices:
Create your first CI workflow with GitHub and GitHub Actions
GitHub Actions allows you to automate, customize, and execute your software development workflows directly in your GitHub repository. GitHub Actions are event-driven, meaning that you can run a series of commands after a specified event has occurred. For instance, every time someone pushes a commit to a branch, you automatically run all unit tests associated with the branch. You only need an existing GitHub repository to create and run a GitHub Actions workflow.
At the root of your repository, create a new file in the .github/workflows directory named node.js.yml. Next, copy the following YAML contents into the node.js.yml file.
name: Node.js CI
on: push
jobs:
  build:
    runs-on: ubuntu-latest
    steps:
    - uses: actions/checkout@v2
    - uses: actions/setup-node@v1
      with:
        node-version: '14.x'
    - run: yarn
    - run: yarn run test
Let’s take a closer look at what this workflow actually does and what it’s composed of:
- events: activities that trigger the workflow. They are represented by the
onproperty. In our case, any push on any branch will trigger this workflow; - jobs: set of steps that execute on the same runner. Here, we only run unit tests;
- steps: task that can run commands in a job. Our workflow is composed of multiple steps:
- clone the remote repository;
- setup a specific NodeJS version (14 in our case);
- install dependencies;
- execute unit tests.
- actions: commands that are combined into steps to create a job. For instance,
runexecutes shell commands. Theuseskeyword gets default actions defined in this repository and executes them.
Committing the workflow file in your repository triggers the push event and runs your workflow.
View your workflow results
On your GitHub repository, click on the Actions tab. Click on the workflow on the left sidebar. You can see the status of your workflow as well as detailed logs of the run.

Continuous Delivery with GitHub Actions
Now that you’ve set up automated testing on every build, you might want to automate deployments. As explained in the previous article, the lerna publish from-git command comes in handy if you want to easily deploy your packages.
Create a new file in the .github/workflows folder called publish.yml. Copy the following piece of code into the file.
name: Node.js CD
on:
  release:
    types: [created]
jobs:
  build:
    runs-on: ubuntu-latest
    steps:
    - uses: actions/checkout@v2
    - uses: actions/setup-node@v2
      with:
        node-version: '14.x'
        registry-url: 'https://registry.npmjs.org'
    - run: yarn
    - run: yarn publish
      env:
        NODE_AUTH_TOKEN: $ secrets.NPM_TOKEN
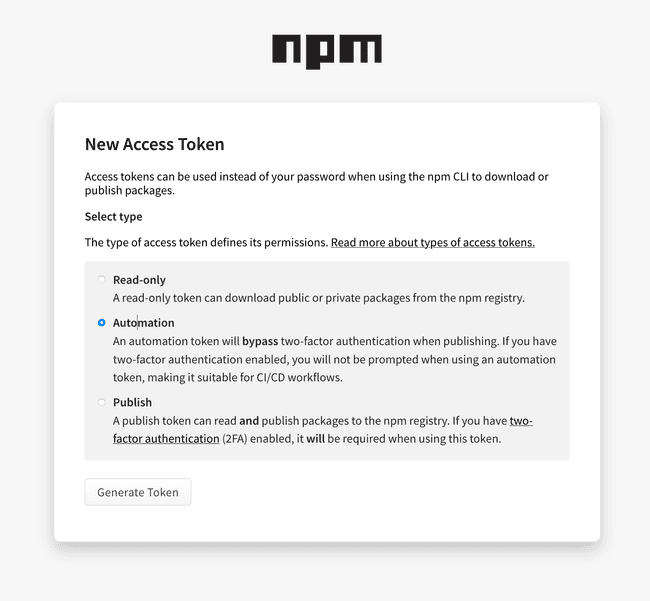
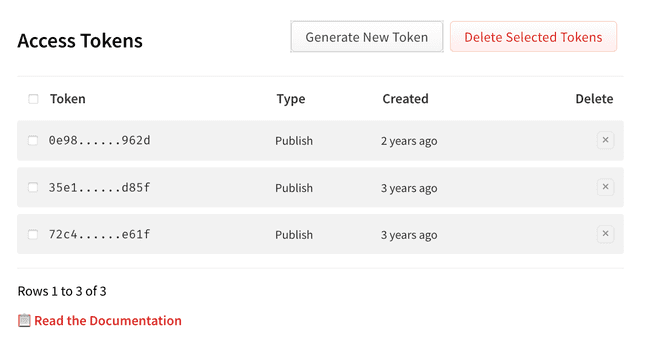
The workflow above runs when the release event triggers. The workflow publishes the package to the npm registry if CI tests pass. To perform authenticated operations against the npm registry in your workflow, you’ll need to store your npm authentication token as a secret. If you already deployed packages from your machine, the NPM_TOKEN value can be read from your local .npmrc and reported to your project settings. Extract your npm credential:
cat ~/.npmrc | egrep '^//registry.npmjs.org' | sed 's/.*=//'Otherwise, you can navigate to the npm registry website and generate a new token manually (recommanded).


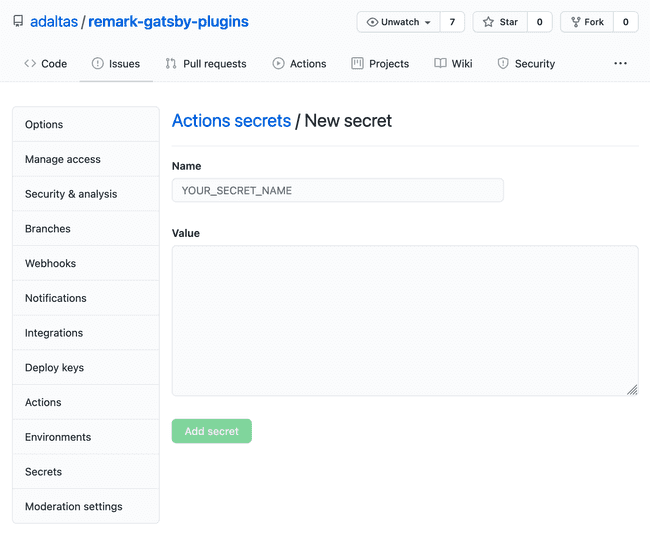
Copy the value and paste it to Settings > Secrets > New repository secret in the GitHub repository.

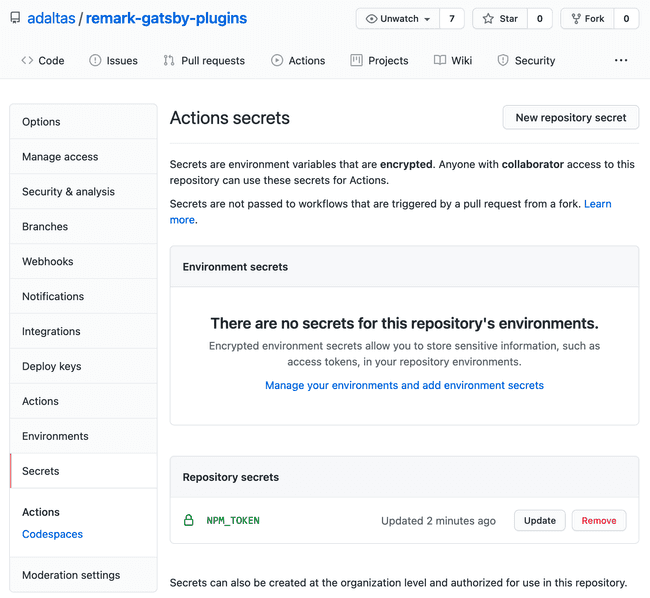
A new entry is created.

This workflow builds on existing Node.js tools to simplify the process of publishing to the npm Registry. Your package is now available for the entire Open Source community to look at.
Cheatsheet
- At the root of your repository, create a new file in the
.github/workflowsdirectory namednode.js.yml. Next, copy the following YAML contents into thenode.js.ymlfile.name: Node.js CI on: push jobs: build: runs-on: ubuntu-latest steps: - uses: actions/checkout@v2 - uses: actions/setup-node@v1 with: node-version: '14.x' - run: yarn - run: yarn run test - Create a new file in the
.github/workflowsfolder calledpublish.yml. Copy the following piece of code into the file.name: Node.js CD on: release: types: [created] jobs: build: runs-on: ubuntu-latest steps: - uses: actions/checkout@v2 - uses: actions/setup-node@v2 with: node-version: '14.x' registry-url: 'https://registry.npmjs.org' - run: yarn - run: yarn publish env: NODE_AUTH_TOKEN: $ secrets.NPM_TOKEN - Get your
NPM_TOKEN.cat ~/.npmrc | egrep '^//registry.npmjs.org' | sed 's/.*=//'Copy the value and paste it to ‘Settings > Secrets > New repository secret’ in the GitHub repository.
Conclusion
CI using GitHub Actions offers workflows that build code in your repository and run unit tests very easily. You can publish your work to a registry as part of your continuous integration workflow. GitHub Actions is available with every GitHub offers. With GitHub Free for user accounts, you have access to 2,000 GitHub Actions minutes which is sufficient for most Open Source projects.


